
One of the main features of myTracks is the organization of GPS tracks. Thus, the importing and handling of GPS tracks is explained in this chapter.
myTracks provides an assistant for easy configuration of your GPS data logger. This assistant must only be used for classic GPS logger device but not if you use a smartphone, e.g. with myTracks for iOS. The workflow for working with the iPhone is explained in an own chapter.
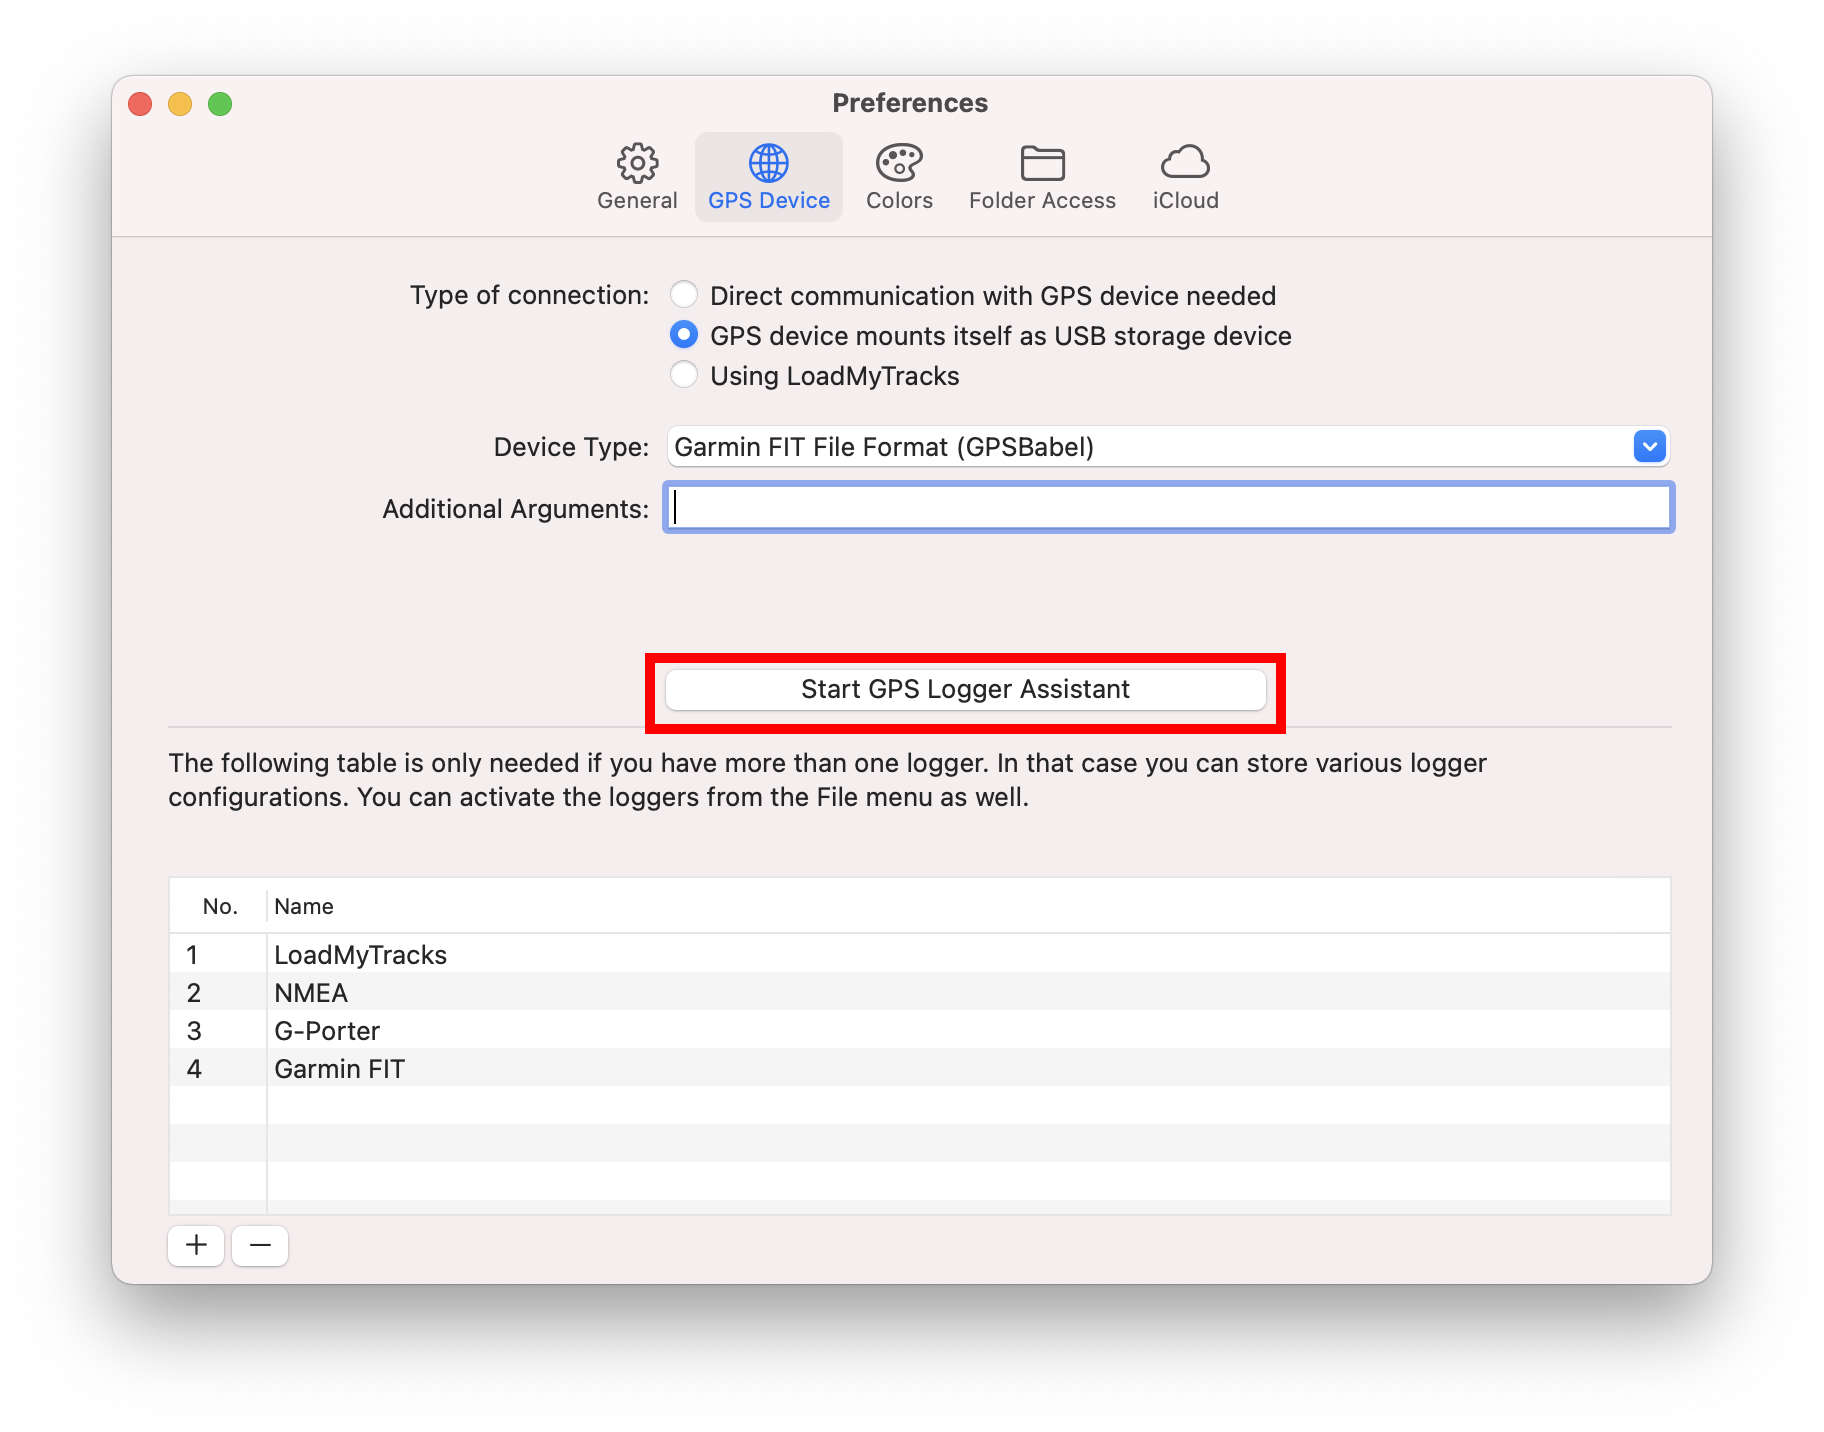
The assistant is started with the first start of myTracks. But it can also be started using the Preferences dialog as shown on the following screenshot:
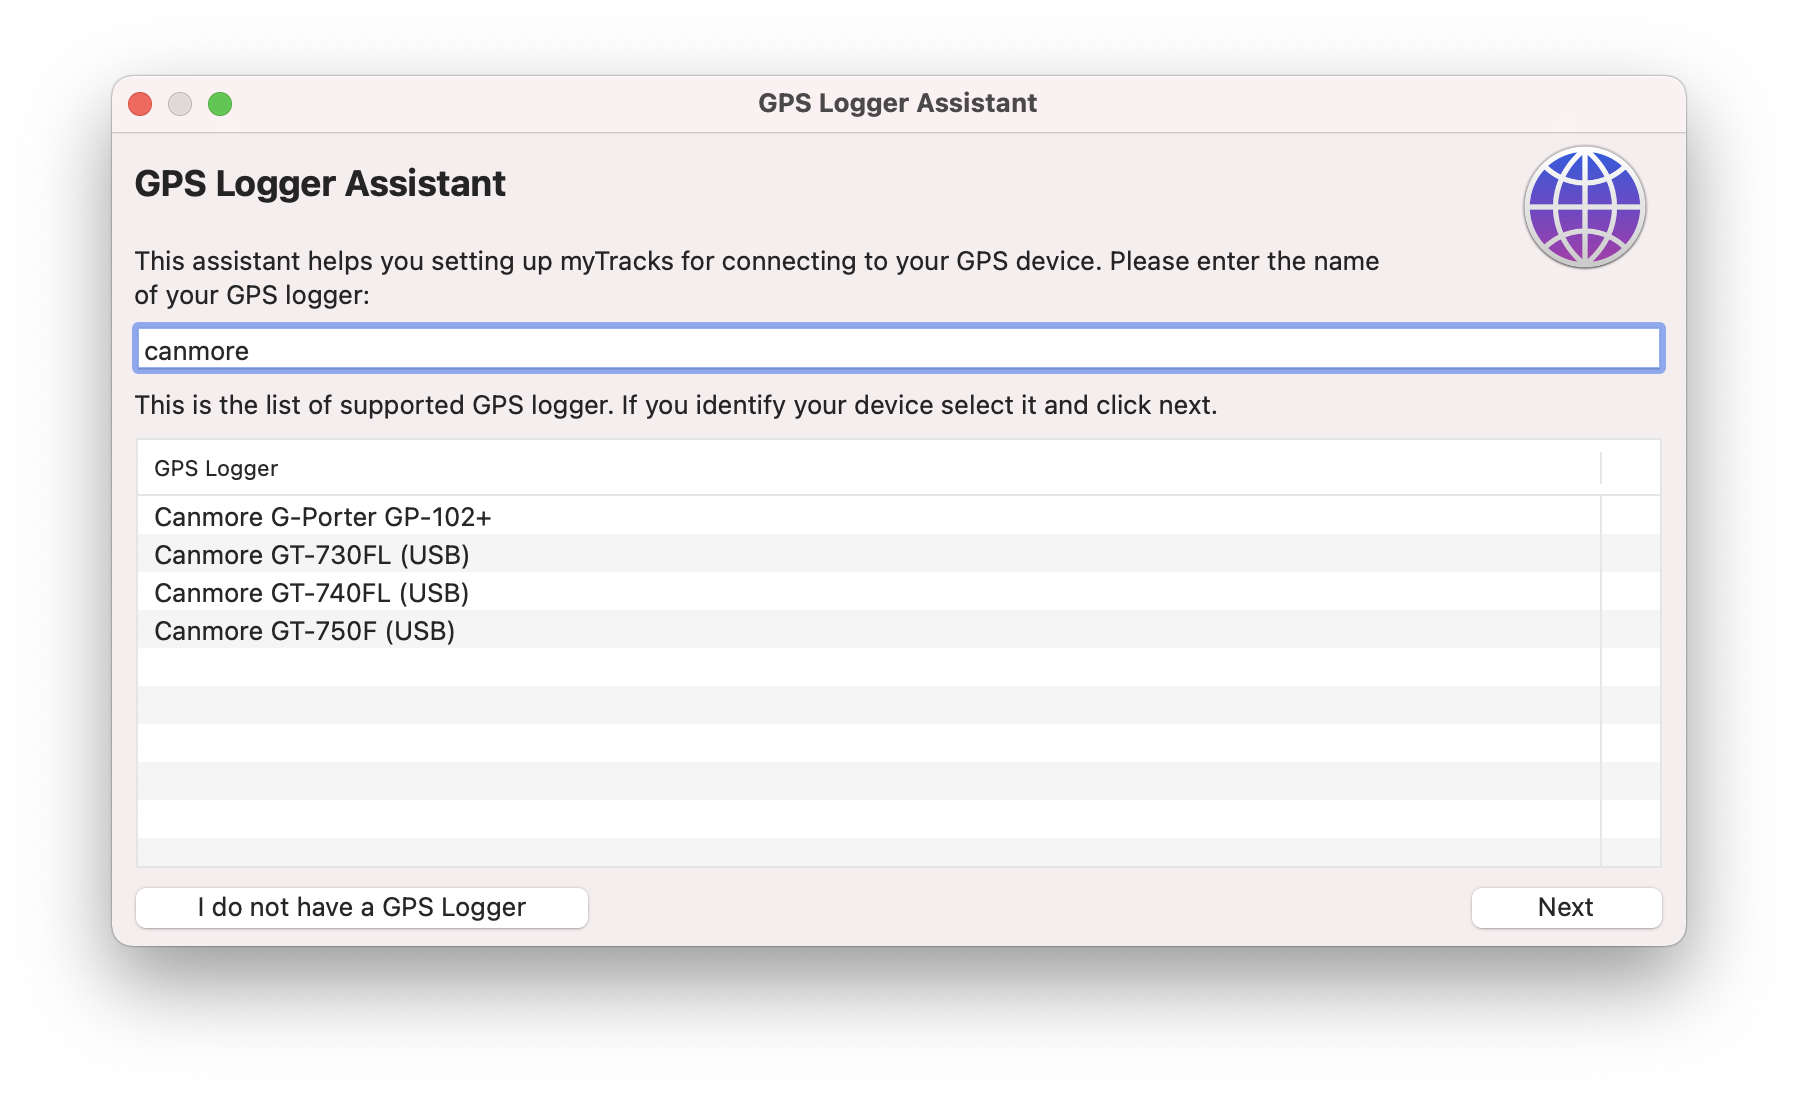
 As a first step please select your GPS logger from the list. You can filter the list by typing a part of the name of your logger. Then click Next.
On the following pages the assistant shows you step by step instructions for finalizing the configuration. After configuring your GPS logger tracks can be imported easily. Just select Import from GPS Logger from the File menu. The tracks will either be imported fully automatically or you have to specify the import file in case your GPS logger mounts itself such as a USB stick or you use a card reader.
The following screencast (no audio) shows how to configure a GPS logger and how to import the tracks to mytracks:
You can also import GPX files if your GPS logger is not supported by myTracks and you use another application to load the tracks. Select Import GPX from the menu File. You can also drag & drop GPX files to the myTracks dock icon.
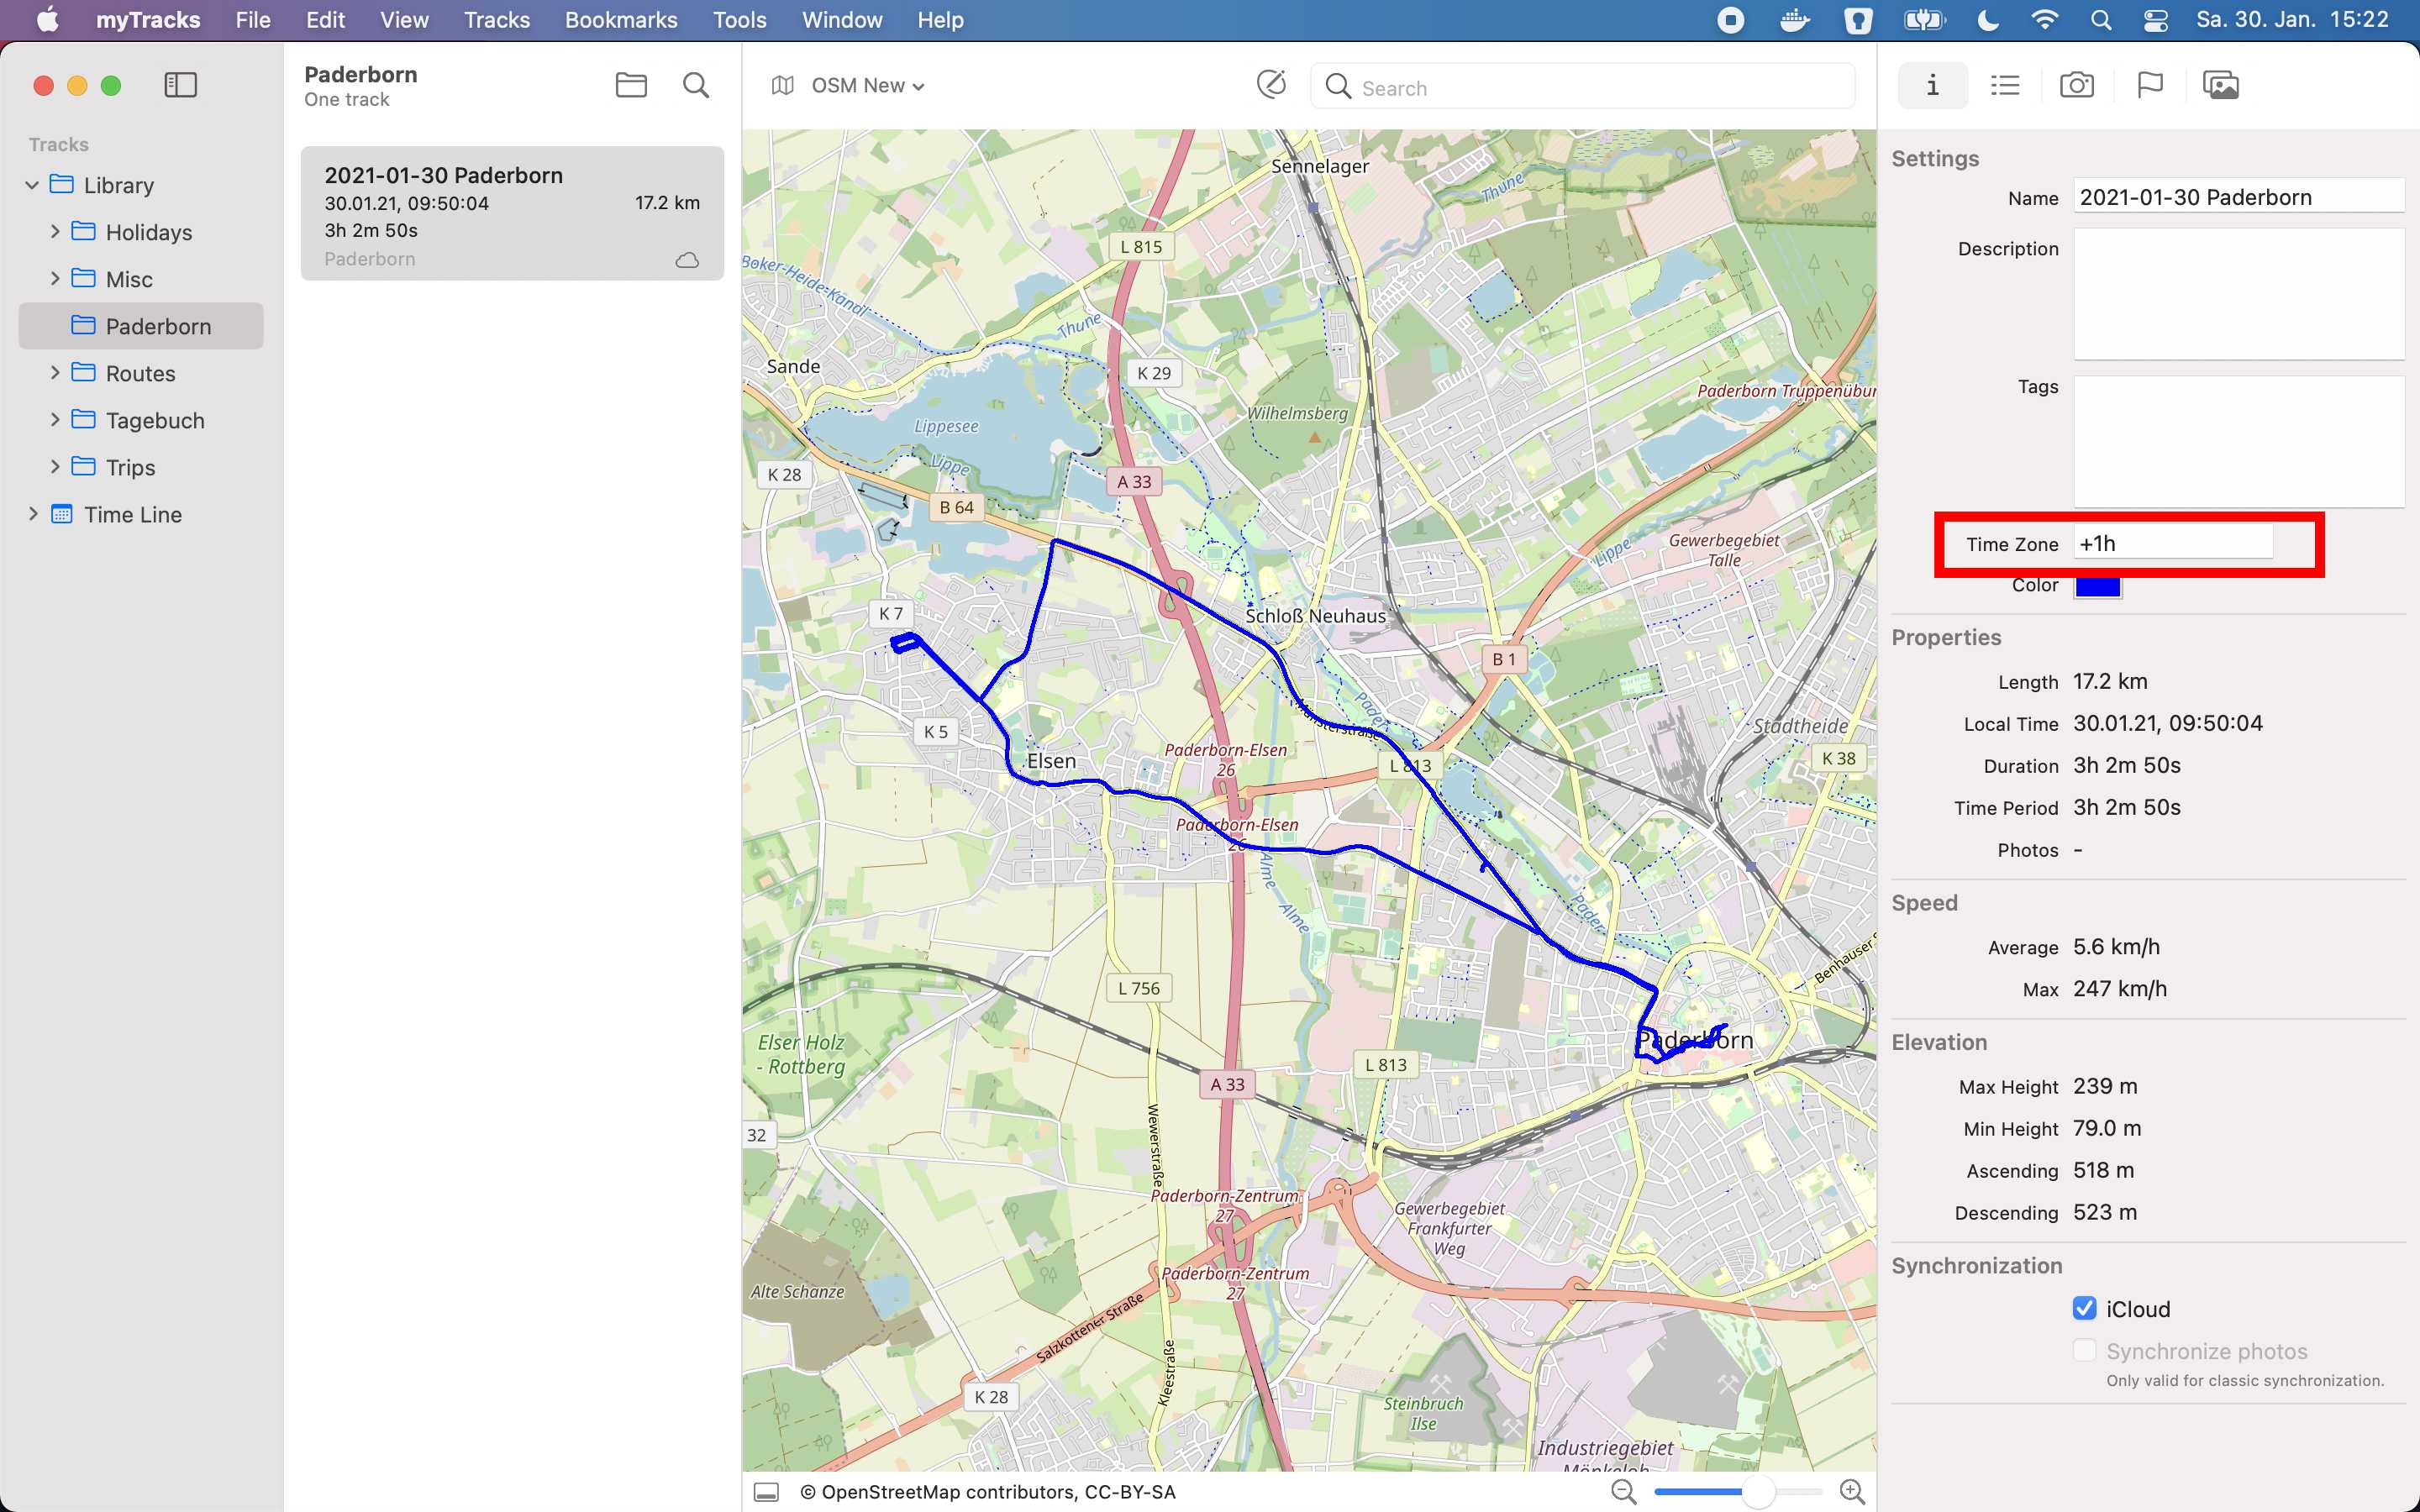
The GPS satellites always transmit time stamp as UTC (Universal Time Coordinated, formerly GMT) times. That means that you have to set the time zone of the imported tracks manually after importing the tracks. By default, myTracks sets the time zone of newly imported tracks to the time zone of the system. In most cases this is sufficient. If you still have to change the time zone please open the properties view in the right sidebar and change the time zone as shown in the following screenshot:
If you have added a lot of tracks you may want to organize them in some way. In myTracks you can create folders and subfolders to organize the tracks. Choose New folder from the file menu or from the context menu of an existing folder to create a new folder. Afterwards you can move the tracks into the folders using drag & drop from the track list onto the folder.
myTracks provides a search feature to find tracks based on the name, description, tags etc. Just press cmd-f, click Find tracks... from the Tracks menu or click the loupe button in the track list. The search view will appear on top of the track list:
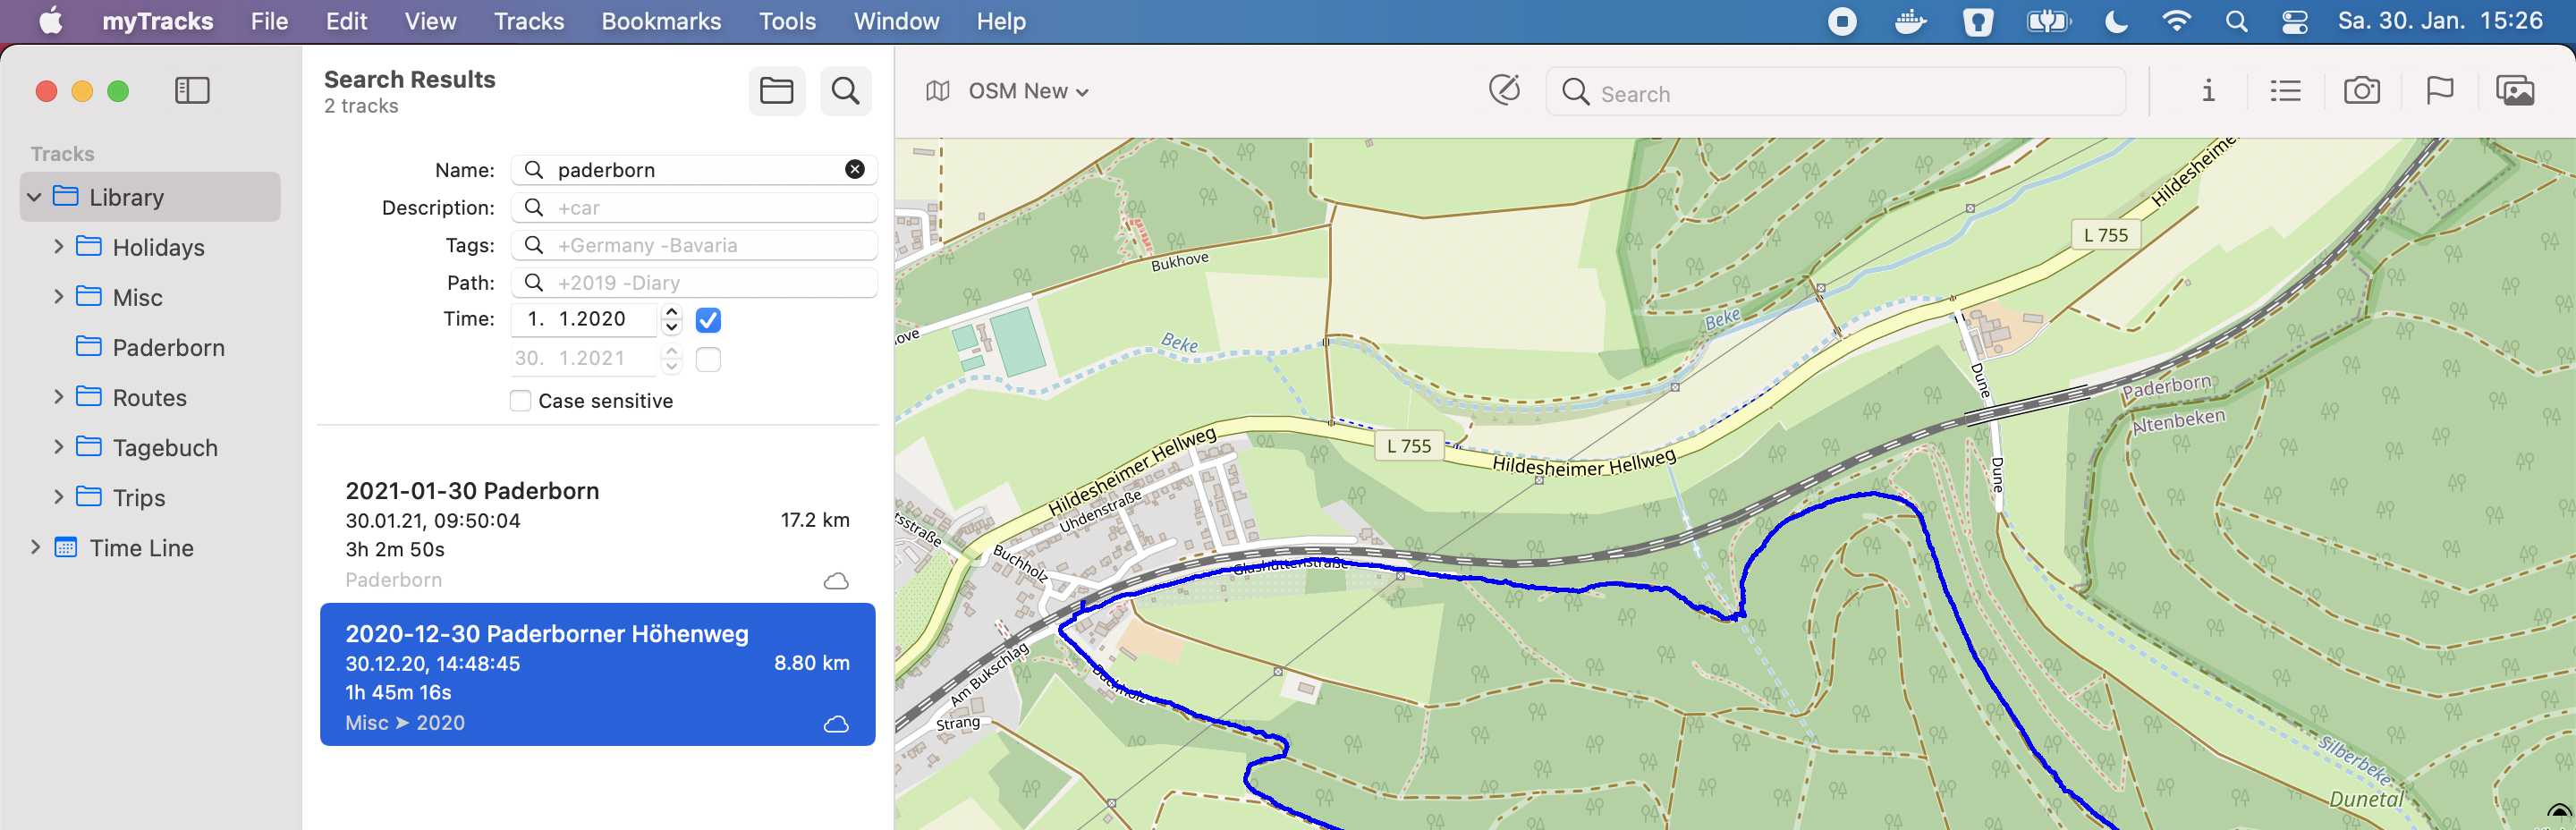
Here you can specify one or more filter criterias. myTracks always filters the currently visible track list which depends on the selection in the side bar. So if you want to filter all your tracks you have to select Library in the side bar and you also have to enable the Include Subfolders button as shown in the screenshot above.
The following screencast (no audio) shows the following steps: